
Quick Answer
A desktop 3D printer pays for itself within months on a typical trades workshop. Entry-level machines like the Bambu Lab A1 Mini cost around £299, and a workshop-grade Bambu P1S sits at £749. Print costs run between £2 and £50 per part. The real value is not novelty, it is the obsolete bracket you reverse-engineer in 20 minutes and have in your hand the next morning, instead of a six-week wait or a £400 specialist callout. Print PETG for plumbing brackets and outdoor fittings, PLA for templates and jigs, and avoid printing anything that touches potable water unless it is WRAS approved.
Table of Contents
- Why 3D printing belongs in a 2026 trades workshop
- What it actually costs: printer, filament, time
- Choosing your first printer: A1 Mini, P1S, or Prusa MK4S
- PLA, PETG, ABS, and what to use for what
- The reverse-engineering workflow for a broken part
- Using AI to skip CAD: PartDesigner and CADGenerator
- Regulations, WRAS, and what you must not print
- What tradespeople are saying
- Recommended videos
- Frequently asked questions
- My verdict
Why 3D printing belongs in a 2026 trades workshop

The case for a 3D printer in a trades workshop is not the headline-grabbing stuff. It is not printing entire bathrooms. It is the small, dull problem that costs you a day. The polycarbonate cover on a 12-year-old fan-assisted boiler that the manufacturer no longer stocks. The plastic dial that snapped on a wet-and-dry vac you paid £400 for. The conduit clip that needs to mount on a 6mm pitch in a void you cannot get a standard bracket into.
Five years ago, those problems meant a workaround, a bodge, or a customer waiting six weeks for a discontinued part from a German warehouse. In 2026, an entry-level desktop printer costs less than a decent SDS drill. The Bambu Lab A1 Mini retails at around £299, and a proper workshop-grade Bambu P1S is £749. Run a couple of jobs that would have meant scrapping a perfectly good unit and the machine has paid for itself.
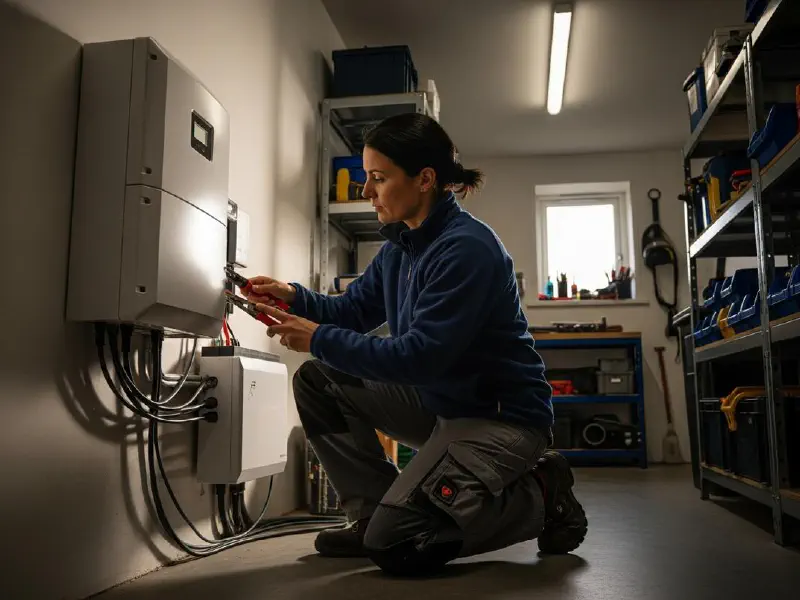
I am not pretending every plumber needs one. If you do straightforward boiler swaps and never see a domestic appliance more than a year old, you will not get much from a printer. But if your work touches older systems, custom installs, or anything where the manufacturer has gone bust or moved on, a printer is no longer a hobbyist toy. It is a practical bit of workshop kit. A proper workshop setup also requires reliable power and energy management. See our guide on battery storage and workshop energy systems for details on powering tools efficiently.
Cable management clips for awkward voids, bespoke pipe spacers for tight runs, dust shrouds for handheld tools, jigs and templates for repeat install jobs, and replacement plastic parts on legacy heating controls. Not glamorous. Useful.
What it actually costs: printer, filament, time
Let us be straight about the money. Print farms and resin printers are not the trades use case. We are talking about one FDM printer in a corner of the workshop. Here is the realistic shopping list for a setup that earns its keep on real jobs.
| Item | Realistic cost (2026) | Notes |
|---|---|---|
| Printer (entry) | £169 to £369 | Creality Ender 3 V3 SE £169, Bambu A1 Mini £299, Bambu A1 £369 |
| Printer (workshop) | £699 to £1,100 | Prusa MK4S £699, Bambu P1S £749, Prusa CORE One £900 to £1,100 |
| PETG filament (1kg) | £18 to £25 | The workhorse for trades parts. Buy two rolls black, one natural |
| PLA filament (1kg) | £14 to £20 | For templates, jigs, and indoor cosmetic parts |
| Digital callipers | £25 to £40 | Mitutoyo if you can stretch, Aldi if you cannot. Non-negotiable |
| CAD software | £0 | Autodesk Fusion personal licence, OnShape free tier, FreeCAD, or Tinkercad |
Total spend for a working trades setup: somewhere between £350 and £1,200, plus consumables. A single roll of PETG produces a stack of useful parts. Most replacement brackets and clips weigh between 15g and 80g of filament, which works out to roughly 30p to £1.60 in material cost per part. Add electricity, the depreciation on the printer, and the time it takes you to model the part, and the realistic per-part cost is somewhere between £2 for a simple bracket and £50 for a large complex enclosure that takes 18 hours to print.
Print times are the part most trades underestimate. A 60mm bracket takes 90 minutes to 3 hours depending on infill and quality. A boiler facia takes 8 to 14 hours. You are not standing over it. You design it, hit print, and find it on the bed in the morning. But the lead time matters when you are quoting a customer, so be honest about it.
Forget the spreadsheet showing "you can resell prints on Etsy." For a trades business, the ROI is binary. Either the printer saves a job you would have lost or a unit you would have scrapped, or it does not. One saved callout on a discontinued plastic part typically pays for an A1 Mini outright. After that, every job is upside.
Choosing your first printer: A1 Mini, P1S, or Prusa MK4S
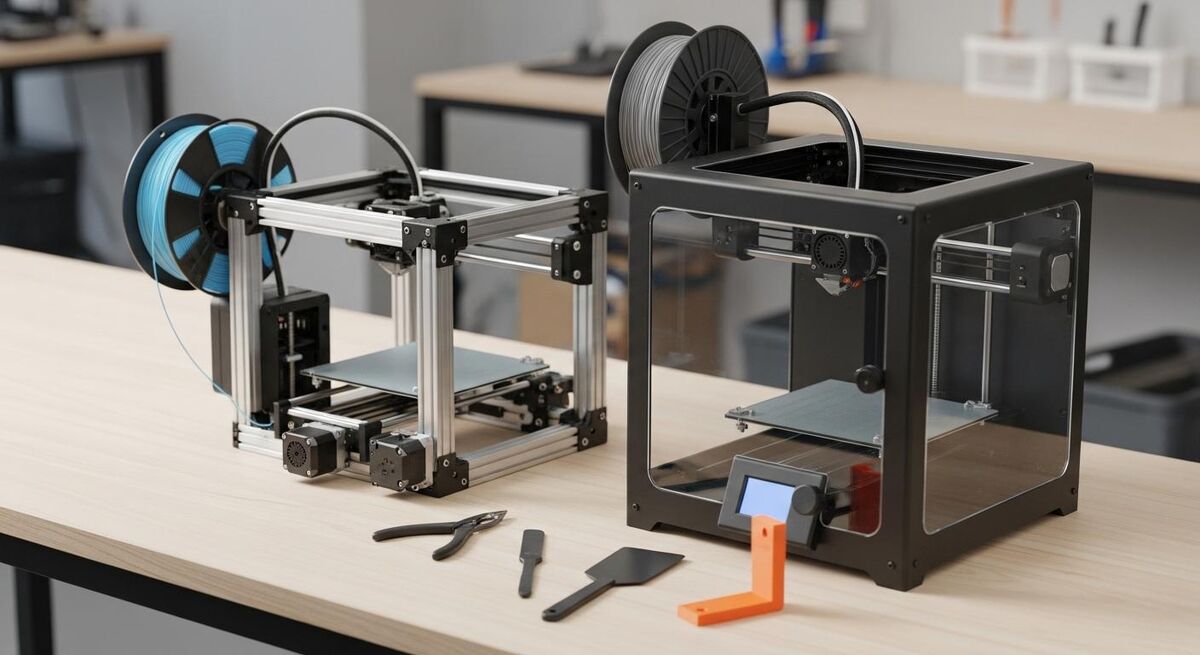
There are three machines I would actually recommend to a UK trades workshop in 2026. Each one fits a different budget and use case. Forget the others for now. The market is full of decent printers, but these three cover 90% of trades use cases without you having to learn anything you do not need to learn.
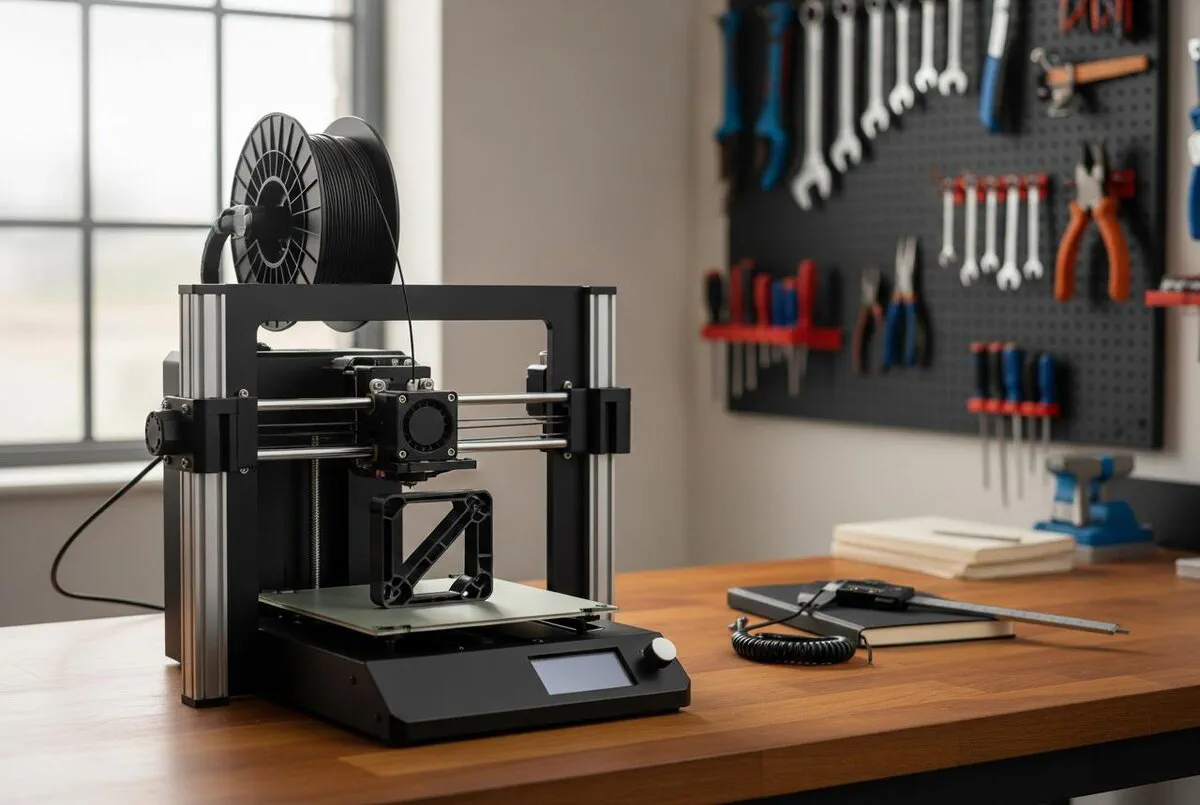
Bambu Lab A1 Mini (£299). If you have never owned a printer and you want one to just work, this is the answer. Build volume is 180mm cubed, which sounds small until you measure most of the brackets you actually need to print. It runs PLA and PETG without fuss. Wifi, app control, auto bed levelling. Setup takes 15 minutes. Bambu have made FDM printing about as friction-free as a printer can be.
Bambu Lab P1S (£749). Enclosed chamber, 256mm cubed build volume, and it runs ABS as well as PETG and PLA. This is the one I would buy if I were running a serious workshop and expected to print structural parts, dust shrouds, and the odd enclosure. The enclosure matters for ABS, which warps without one. If your work involves any kind of vehicle, kit-out, or anything that lives outdoors, the P1S gives you the material flexibility to do it properly.
Prusa MK4S (£699). Slower than the Bambu, no enclosure, and slightly fiddlier to set up. So why bother? Because it is the most repairable printer on the market. Every part is documented, every spare is sold by Prusa direct, and the firmware is open source. If you are the kind of trades operator who fixes their own tools, the MK4S is the printer for you. Bambu printers are great, but the moment something goes wrong you are at the mercy of their support. Prusa, you fix yourself.
Skip the £169 Ender 3 V3 SE unless you are buying it as a teaching machine or a second printer for non-critical jobs. It works fine, but it has the kind of small failures that eat your morning when you should be on a job.
| Printer | Price | Build volume | Enclosure | Best for |
|---|---|---|---|---|
| Bambu Lab A1 Mini | £299 | 180 x 180 x 180mm | No | First printer, small parts, just works |
| Bambu Lab A1 | £369 | 256 x 256 x 256mm | No | Bigger A1 if you need the volume |
| Prusa MK4S | £699 | 250 x 210 x 220mm | No | Repairable, open, long-term workshop tool |
| Bambu Lab P1S | £749 | 256 x 256 x 256mm | Yes | Serious workshop, ABS capable |
| Prusa CORE One | £900 to £1,100 | 250 x 220 x 270mm | Yes | Prusa flagship, enclosed, premium |
PLA, PETG, ABS, and what to use for what
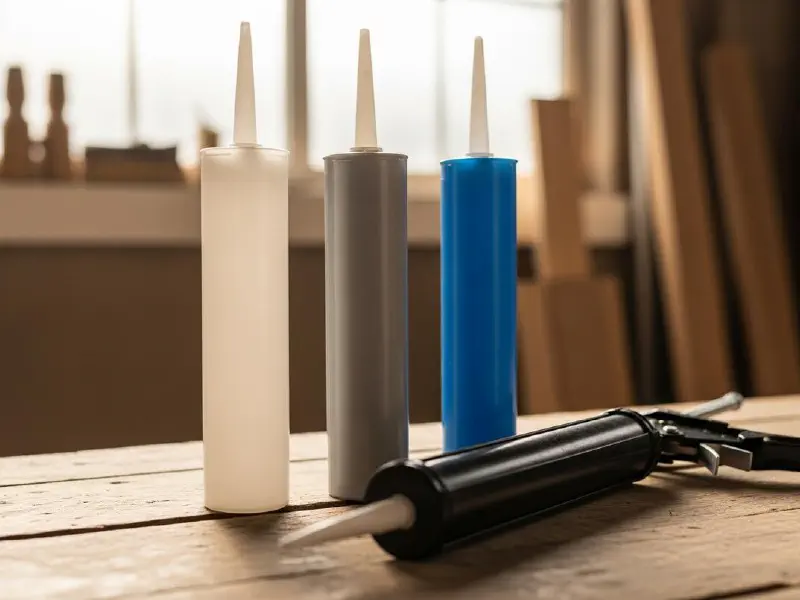
Filament choice is where most beginners come unstuck. Print a plumbing bracket in PLA and it deforms the first time the airing cupboard hits 50°C. Print a kids' toy fix in ABS and you have spent £25 of material when £14 of PLA would have done the job. Three materials cover almost every trades use case. Material selection for prints follows the same logic as choosing the right adhesive or sealant for your job. The right choice depends on temperature, environment, and load.
PLA is the easy one. Cheapest, prints at 200°C on any printer, no enclosure needed. Strong enough for templates, jigs, indoor cosmetic parts, and anything that will not get hot or be left in direct sun. Glass transition temperature is around 60°C, which means it goes floppy in a hot loft. Avoid for anything outside or near pipework that carries hot water.
PETG is the workhorse for trades parts. Prints at 230 to 250°C, slightly fussier than PLA but every modern printer handles it. Tensile strength is comparable to PLA but the elongation at break is 20 to 30%, which means it bends before it snaps. That matters when you are printing a clip or bracket that gets flexed during install. It is also water-resistant and handles temperatures up to about 80°C. Use PETG for anything structural, anything outside, and anything that gets handled hard. If you are buying one filament, buy PETG.
ABS is the proper engineering plastic. High impact strength, holds shape up to 105°C, and it can be vapour-smoothed for a clean finish. The catch is it warps without an enclosed printer, and it emits fumes when printing that you do not want around children or pets. ABS belongs in a P1S in a ventilated workshop, used for dust shrouds, vehicle interior parts, electrical enclosures, and anywhere you need real heat resistance. Do not buy ABS for an open-frame printer. You will fight it every print.
Nylon, polycarbonate, carbon-fibre composites. Yes, they are stronger. Yes, they look impressive. They also need printers with hardened steel nozzles, dry boxes, and a lot of trial and error. For 95% of trades replacement parts, PETG is enough. Master that first, then experiment.
The reverse-engineering workflow for a broken part
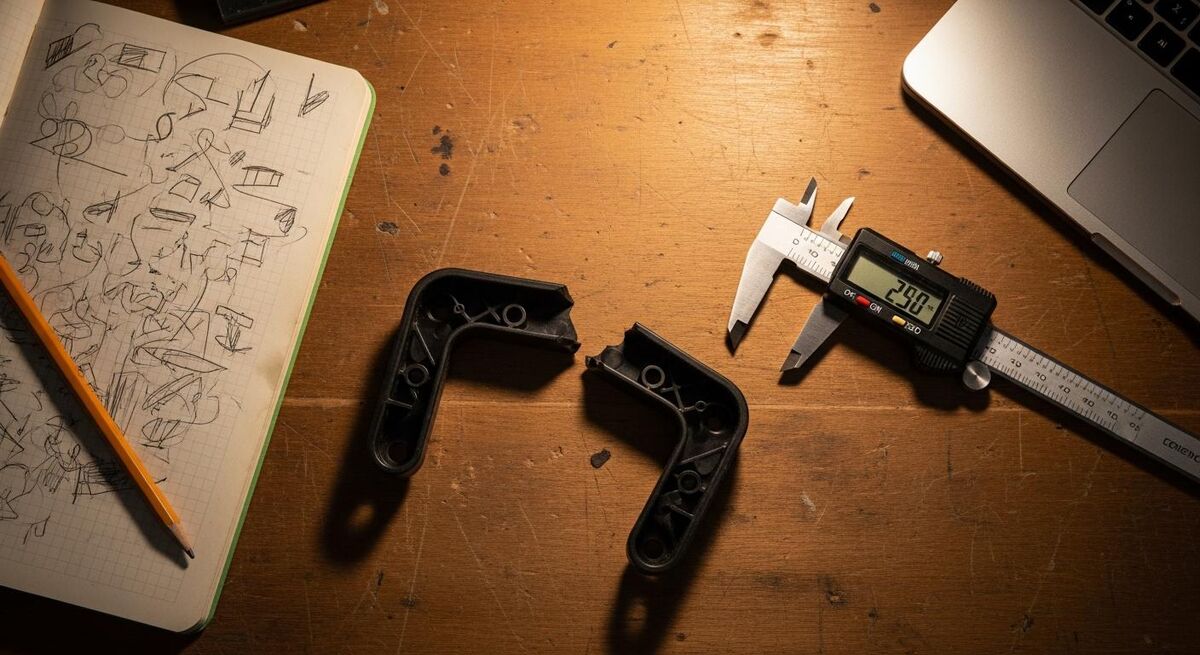
This is the part most guides skip. They tell you to buy a printer and download free models. Useful for hobbyists, useless if the part you need does not exist online. Here is the workflow I use when a customer hands me a snapped bracket from a 2010 system.
- Photograph the original from three angles with a tape measure or ruler in shot. Even if it is in pieces. You want context for the mounting holes and the surrounding geometry. This is similar to documenting damage for surveys. See our guide on visual documentation techniques for trades professionals.
- Measure with callipers, not a tape. You need 0.1mm accuracy on any hole, slot, or mating surface. Tape measures are fine for the overall envelope, useless for the dimensions that actually matter.
- Sketch the part on paper with dimensions labelled. This sounds slow. It is faster than going back and forth between the bench and the laptop because you forgot a measurement.
- Model it in CAD. For most replacement parts, Tinkercad or OnShape will do. For anything with curves, draft angles, or threads, use Fusion 360. The free personal licence covers everything a trades workshop needs.
- Slice and test print in draft mode. 0.28mm layers, 15% infill, no supports if you can avoid them. A draft print takes a quarter of the time and tells you if the dimensions are right. If they are, run a proper print in PETG at 0.2mm and 30% infill.
- Test fit, then iterate. First print is rarely perfect. Adjust by 0.2mm or 0.5mm where needed and reprint. By print three you usually have it.
Start to finish on a simple bracket: 90 minutes of design plus 2 to 3 hours of print time. For a complex part with internal geometry, expect a full afternoon plus overnight printing. That is still faster than waiting six weeks for a discontinued part, assuming you can even source it.
The other thing nobody mentions: build a folder of your own designs. Every time you print a useful part, save the model file. Six months in you will have 30 designs that solve problems you keep running into, and the next time the same job comes up you skip straight to slicing.
FDM prints typically come out 0.1 to 0.2mm larger than the model on external dimensions and 0.1 to 0.2mm smaller on internal holes. Design holes 0.3mm bigger than the bolt that goes through them. Design slots 0.4mm bigger than the tab. You will get this wrong twice, then you will remember it forever.
Using AI to skip CAD: PartDesigner and CADGenerator
The interesting development in 2026 is AI-driven part design. Tools like PartDesigner and CADGenerator promise to take a photo of a broken part and output a printable model, no CAD knowledge required. Trades have been promised this for years. The honest answer in 2026 is: getting there, not there yet.
For simple geometry, like a flat bracket with three mounting holes, AI part generators do a reasonable job. You photograph the part, the tool generates a STEP or STL file, and you slice and print. Eighty percent of the time it is close enough that you can adjust in CAD and move on. For complex parts with curves, internal features, or anything that has to mate with something else precisely, the AI output is a starting point you still have to fix by hand.
Where AI design is genuinely useful right now is the boring stuff. Generating cable trays at custom widths, conduit clips for non-standard pitches, mounting plates for legacy gear. Things where the geometry is simple but the dimensions are bespoke. Twenty minutes of prompting beats two hours of CAD for that work.
The trap is trusting the AI on dimensions that actually matter. If a load-bearing bracket is 1mm off, the customer will be on the phone. Always verify critical dimensions yourself before printing, especially mounting hole positions and mating surfaces. AI is the assistant, callipers are still the boss.
Use it for: generating starter geometry, suggesting variants, parametric tweaks to existing models, and visualising before you commit to a print. Do not use it for: load-bearing parts you have not verified, anything that touches water, anything where a tolerance miss has safety consequences. Verify before you print. Always.
Regulations, WRAS, and what you must not print
Most trades replacement parts have no regulatory issue. A cover, a bracket, a clip, a knob. Print it, fit it, move on. But there are categories of work where 3D printing is either restricted or flat-out prohibited, and getting this wrong is how a tradesman ends up in court rather than just out of pocket.
Anything that touches potable water must be made from a WRAS-approved material, full stop. The Water Fittings Regulations require that materials in contact with drinking water do not affect taste or smell and do not support microbial growth. WRAS, accredited by UKAS, tests materials against BS 6920. Standard PETG and PLA filaments are not WRAS approved. Do not print pipe fittings, valve internals, or any part that contacts the wet side of a plumbing system. Print external brackets, mounting plates, and dry-side parts only.
Gas-side parts on any combustion appliance. If you are Gas Safe registered, you already know the answer. Gas appliances must be repaired with manufacturer-specified parts. A 3D printed bracket is fine. A 3D printed seal, gasket, or anything in the gas path is not. The same applies to flue components.
Electrical enclosures and CPC bonding. Plastic enclosures for electrical work need to be rated for the environment they are in. Generic 3D printed PETG is not BS EN 60670 approved. Use it for low-voltage signal cabinets, AV racks, and similar. For mains-voltage consumer units or industrial gear, buy a properly rated enclosure.
Structural or load-bearing parts on any compliance-regulated install need engineering sign-off. Common sense, but worth saying.
If a part appears in a manufacturer's parts list and the manufacturer still exists, buy it. If the part is obsolete or the manufacturer is gone, you have a choice. If it is in any kind of regulated path, the answer is still no. 3D printing is for the parts the system does not care about, not the ones it does.
What tradespeople are saying
Recommended videos
Creating 3D Printed Replacement Parts: Quick and Easy
Step-by-step process for designing and printing replacements
Designing replacement parts from a single broken half
Reverse engineering workflow for broken parts
12 3D printed tools you need for your workshop
Practical workshop accessories worth printing
15+ workshop prints that earn their keep
Functional 3D prints for trades workshops
Copying and printing spare parts, the right way
Legal and technical guide to spare-part replication
Three reverse-engineering methods compared
Shapr3D workflow for trades-style part recreation
Frequently asked questions
No. Tinkercad runs in a browser and teaches you the basics in an hour. For most trades replacement parts that is enough. If you want to do anything more advanced, Autodesk Fusion has a free personal licence that covers everything a trades workshop needs.
Yes, with sensible limits. Brackets, covers, knobs, mounting plates, jigs, dust shrouds, cable management, non-structural cosmetic parts. Avoid anything that touches potable water, sits in a gas-side path, or is part of a regulated electrical enclosure. Be honest with the customer about what they are getting and warranty it like you would any repair.
A 60mm to 100mm bracket prints in 90 minutes to 3 hours depending on infill and quality. Larger or more complex parts can run 8 to 14 hours overnight. The design time is usually 20 to 60 minutes once you are comfortable in CAD. Faster than ordering, slower than walking to the van.
For most non-load-bearing applications, yes. PETG handles up to 80°C, has decent impact resistance, and is water resistant. For anything that takes serious mechanical load or sits in direct heat, use ABS or get the part properly machined. Common sense applies. A 3D printed bracket holding up a curtain rail is fine. A 3D printed bracket holding up a radiator is not.
Charge for the time, not the part. Material cost is pennies. What you are billing for is the design work, the iteration, and the fact that you solved a problem they could not solve elsewhere. £40 to £120 per bespoke part is fair, more if it took serious design time. Most customers will pay it gladly when the alternative is throwing away a working unit.
Same as any other repair. You stand behind your work. If a 3D printed bracket breaks, you reprint it in a stronger material or redesign with thicker walls. Most failures are obvious early. You will see them on the first install or in the first month. Document what you printed, in what material, at what settings. That paper trail saves a lot of arguments later.
My verdict
If you have never owned a 3D printer, a £299 Bambu A1 Mini paired with a £25 set of callipers and a free Fusion personal licence is the right starting point. Print PETG. Solve real problems. After six months you will know whether you need a P1S, a Prusa MK4S, or whether the A1 is plenty. The biggest mistake I see is people buying the most expensive printer first because they assume they will outgrow the cheap one. Most never do. The hard part is not the machine. It is the workflow, the callipers, and the willingness to design twice and print three times. Once you have that, the printer pays for itself on a single saved job.